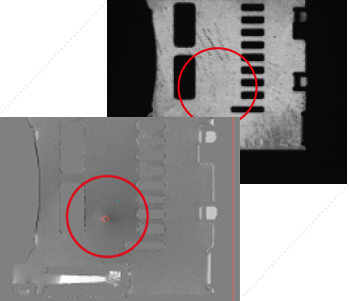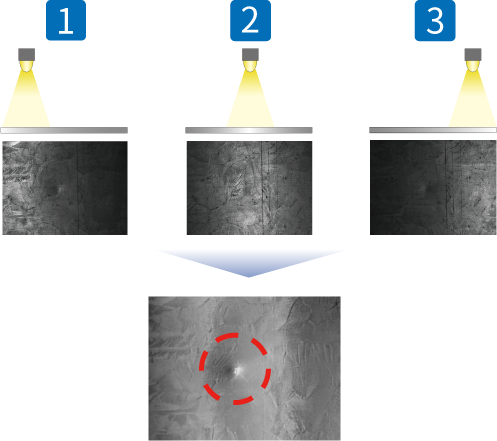


Multiple images captured by using different lighting positions are analyzed to cancel out undulations, etc. on the front surface and detect only unevenness defects.

With our PMS inspection tool, it is possible to visualize minute unevenness and gradually changing warps, both of which are difficult to detect when using a general optical system.


We are an expert group in the field of visual inspections and image processing inspections. We are not just a manufacturer. Instead, we are a visual inspection and image processing inspection system manufacturer that combines knowledge of and experience related to image processing algorithms, optical technology, electronics, and machinery in order to provide comprehensive consulting as a development engineering company.